
I’m going to show you how to create two more types of templates today, the Lined Paper Template and the Matchbook Template.
Lined Paper Template
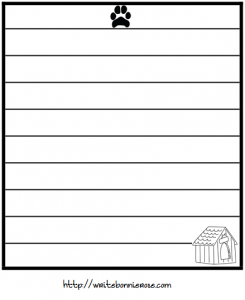
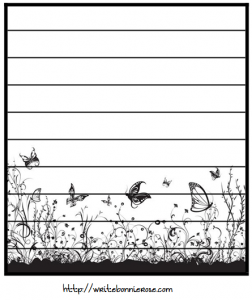
The Lined Paper template is simply that—paper with lines on it for writing longhand. Students will print as many pieces as necessary, staple them together in the corner, and glue the back of the final piece to the lapbooking folder.
This is a great template to use if you want the student to rewrite the ending of a story or write a short essay. But remember not to overuse this template. I know as a writer, though, this is an easy trap for me to fall into. Ask the student a question and give them a writing assignment! But doing that too often defeats the purpose of a lapbook. A lapbook is hands-on, so use this template sparingly (or perhaps slightly more often when writing lapbooks for older students).
There are a few other considerations to remember when creating this template.
- The first is size—these should not be full sheets of paper. They need to be an appropriate size for the space available in the lapbook you are creating.
- The second is room to write. When you draw the lines on the page (perhaps by creating a table in a word processing program and removing some of the borders), make sure to leave room for the student to write on the page by hand. Chances are that the students are not writing in the same 12 point font you are typing in!
- The third is to make it visually appealing. Please don’t just give the students a lined sheet of paper! Add a border. Consider adding a little bit of illustration to it. Don’t be afraid to experiment.
Here are pictures of two lined paper templates I made:
Matchbook Template
This template looks just like it sounds—like a matchbook! To create one, you need to create two identical rectangular or square shapes, then a short tab that will fold over once you are finished. You can add an illustration to the “cover” of the matchbook if you like. Once it is finished, the student will glue the back of the matchbook into their lapbook.
Here is an example of one I did for an astronomy theme:
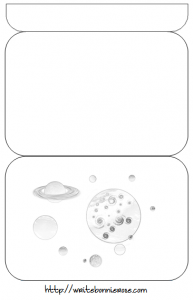
You might have the student answer a short series of questions inside the matchbook. Or, they could write one item on the top flap (once opened) and a related item on the bottom flap. The same could be done with opposites, rhyming words, inventor/invention, explorer/discovery, etc…
Take some time to play with the templates. You’ll be amazed at the ideas you start to have for fun ways to bring your projects to life!
Next week we’ll take a look at additional templates you can add to your inventory!
Have you ever created a matchbook template before? Let me know in the comments!
Please overlook my ignorance, but I don’t understand what a lapbook is. And would you put pages into the matchbook? It’s probably a bit obvious that I’m not already involved in homeschooling, but would like to know more.
Janice, I don’t have one finished yet, or I could show you a completed one. Basically, you are making a book binding out of file folders. Then you are creating mini books that go inside them. Maybe I should try to make a video to go with the post. It might show it better. And you can put pages in the matchbook or leave it empty, depending on what information you want the kids to work with.